I get this question a lot, “What’s the difference between this trekking pole and this one?” While trekking poles are relatively simple to use, they can be confusing to purchase. Not only are there several different brands out there to choose from, but you have key features like materials, basket size, suspension or no suspension, grip ergonomics, weight, etc., to choose from. What I would like to do it give you a bit of a lesson on what to look for if you decide to either pick up a new pair or try a pair for the first time.
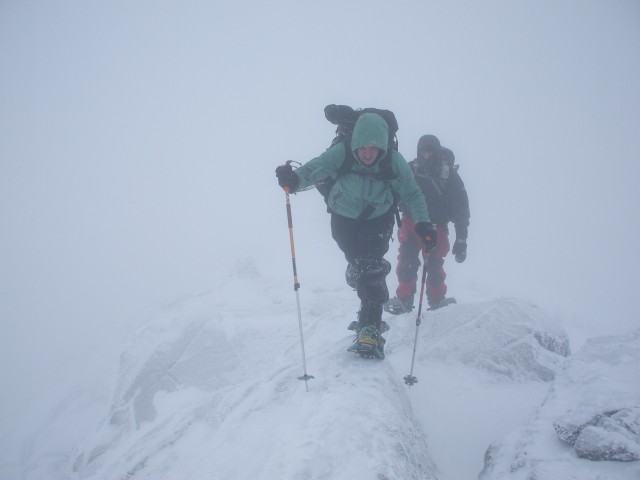
Trekking poles are a love/hate relationship with hikers. I love them, but then again, I love my knees. I find that trekking poles give me added power going up, by incorporating the use of my arms more. On the descent I find them to help me be more efficient and they aid in prolonging the life of my joints. When crossing brooks or rock hopping, they give me two extra points of contact for outstanding balance and comfort. While in some cases they can be a hindrance or get in the way. In these cases, such as bushwhacking, or on super steep trails where the use of your hands to grab and pull are required – it may be best to leave them at home.

Brands of trekking poles:
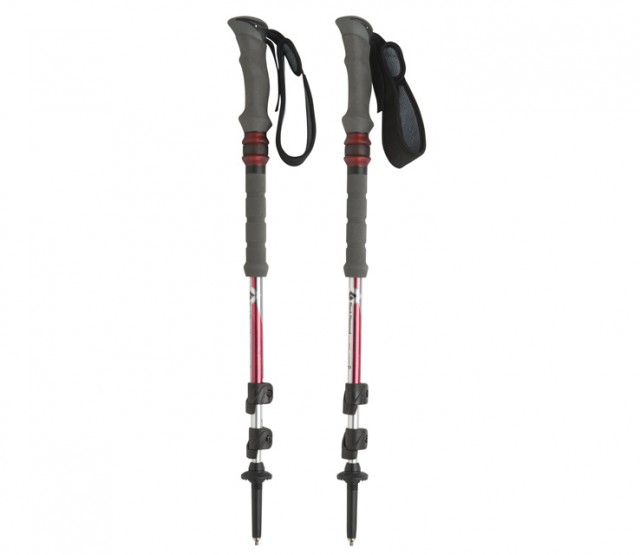
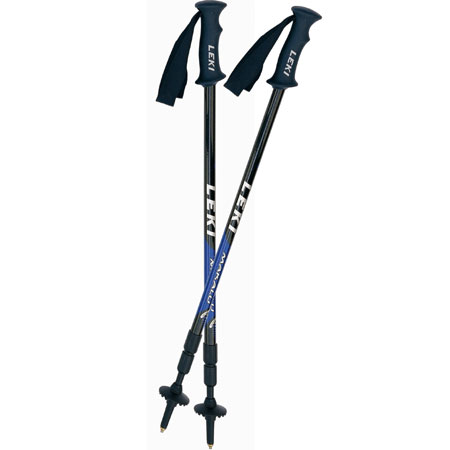
There are too many to list, but only a few are truly in the limelight as being the best and most dependable. Most all snowshoe makers have their own trekking pole designed mainly for winter travel. Many of these are inexpensive, heavy and very basic. Komperdell, Leki and Black Diamond create the most widely used trekking poles in the business. They are also some of the best with warranty as well. Komperdell is reasonably priced, but once you get into the Leki and Black Diamond brands you can drop a bit more pocket change.

2-section versus 3-section:
A two section pole is much stronger, typically made of aluminum, and better for skiing or in situations where durability is a factor. A three section pole has the advantage of collapsing to a much smaller, portable piece of equipment. The third section however is much less durable due to its smaller diameter.
Material:
Aluminum – is much heavier but much stronger and are best for skiing due to better durability. Aluminum is the least expensive option.
Carbon fiber – is much more expensive, but is super light. The durability isn’t as high, but they can take some light abuse.
Fiberglass - is similar to carbon fiber but a bit less expensive. The durability is also similar and should be treated as such.
Grip:
This is a personal preference I have found. While many are made of rubber some are made of cork. The biggest complaint of cork is how fast it gets dirty and they seem to gain an odor after many uses. Some grips are slightly bent for a more ergonomic feel with less strain on the wrists.
Basket size:
There are two basket sizes available and some come with both. The smaller one is for non-snow conditions and the large one is for winter (snowshoeing and skiing). Some hikers prefer no basket when snow is not in the mix, but no basket, doesn’t give you a stopping point in soft terrain. The larger basket in summer can get in the way and get hung up on rocks and roots.
A common error is a hiker placing the large one over the small on, this is not correct. One must be removed first. If one is not removed the other will fall off during the course of the day.

Suspension:
Many poles now have a spring suspension built into the shaft or a cushion just below the grip. This suspension helps on the descent to take a bit of pressure and shock off the arms, legs, knees and back. This is also a personal preference, but the suspension does come with a higher price tag.
Locking mechanisms:
There are two locking mechanisms on poles.
Twist lock – this is the original method of adjustment. The largest downfall to this is the internal locking sleeves tend to get worn out and become smooth. To fix this you can replace the sleeve or use a bit of sandpaper to roughen it back up so it will grip. In the field use course sand or a rock to roughen up the surface temporarily.
Flick lock – this is a simple locking adjustment where only a flick of the thumb locks down the pole section. The tightness can be adjusted in the field with your thumb nail or a dime. The flick lock simply pinches the two poles together to keep them from collapsing.
Do you have more questions on trekking poles? Go online to get them answered or stop into a local gear shop, maybe while you’re there, pick up a set. Many places rent trekking poles, so you do have the option to try before you buy. Need a good place to use them? Pick up a trail guide while you’re at it.


